Use Visualizer to perform standard report operations.
Topics on This Page
Copy a Report to a Different Folder
Export a Report to a Different Format
Save a Report
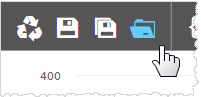
- To save a
report, click Save. If
it is the first time you are saving the report, the file navigator opens.Tip: From a dashboard, you can save a new version of a Visualizer report by clicking Dashlet Actions → Save As.
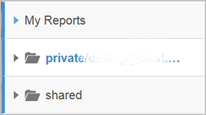
- In the left column, select a private or shared folder.
 Tips:
Tips:- Visualizer reports in the private folder are not accessible to other users.
- To allow other users to access a Visualizer report, save the report to the shared folder.
- Report names must be unique within a folder.
- A Visualizer report cannot be moved to a different folder in Visualizer. However, administrators can move reports to different folders and create and delete folders using Admin → Manage Access → Manage Report Catalog.
- Type a name for the Visualizer report, then click Save.
Visualizer saves the report with a .viz.dashlet filename extension in the selected folder location. Tips:
Tips:- Hover over the name of the report to view the path of the report.
- To start with a new visualization, click Reset.
- Once a Visualizer report is saved, you can add it to a dashboard.
Open a Report
- Click Open. The file navigator displays your private folder and the shared folder.
 Tip: You can use the Search field to search for a report by name.
 - Select a folder to view the list of reports in that folder, then select the report you want to open in Visualizer.
Copy a Report to a Different Folder
- Open the report you want to copy.
- Click Save As. The file navigator opens.
- Select the folder in which you want to save a copy of the report.
- Type a new name for the new report.
- Click Save As. The file navigator closes and the new report displays for editing.
Share a Report
- Open the report in Visualizer.
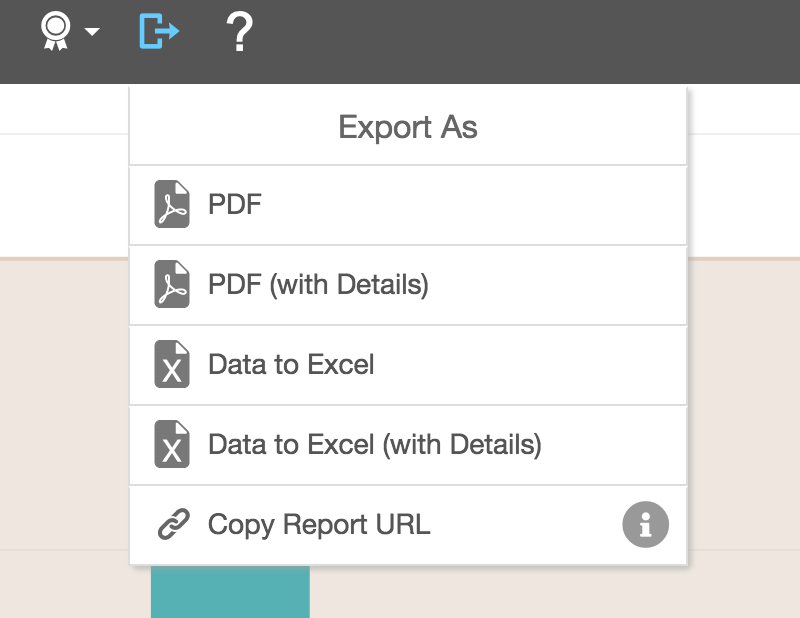
- Click Export.
- Select Copy Report URL.

Export a Report to a Different Format
- Open the report in Visualizer.
- Click Export
and select from the available export formats.
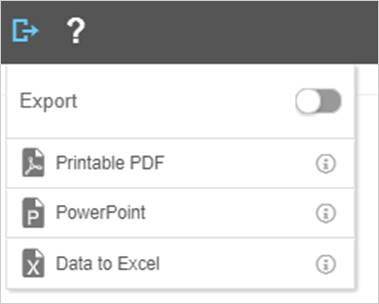
- Printable PDF—retains Visualizer formatting
- PowerPoint—retains Visualizer formatting
- Data to Excel—unformatted data
- Excel Pivot Table—unformatted data
After you select the export format, a confirmation message displays.
 Note: To export a report, users must belong to a user group with downloads enabled.
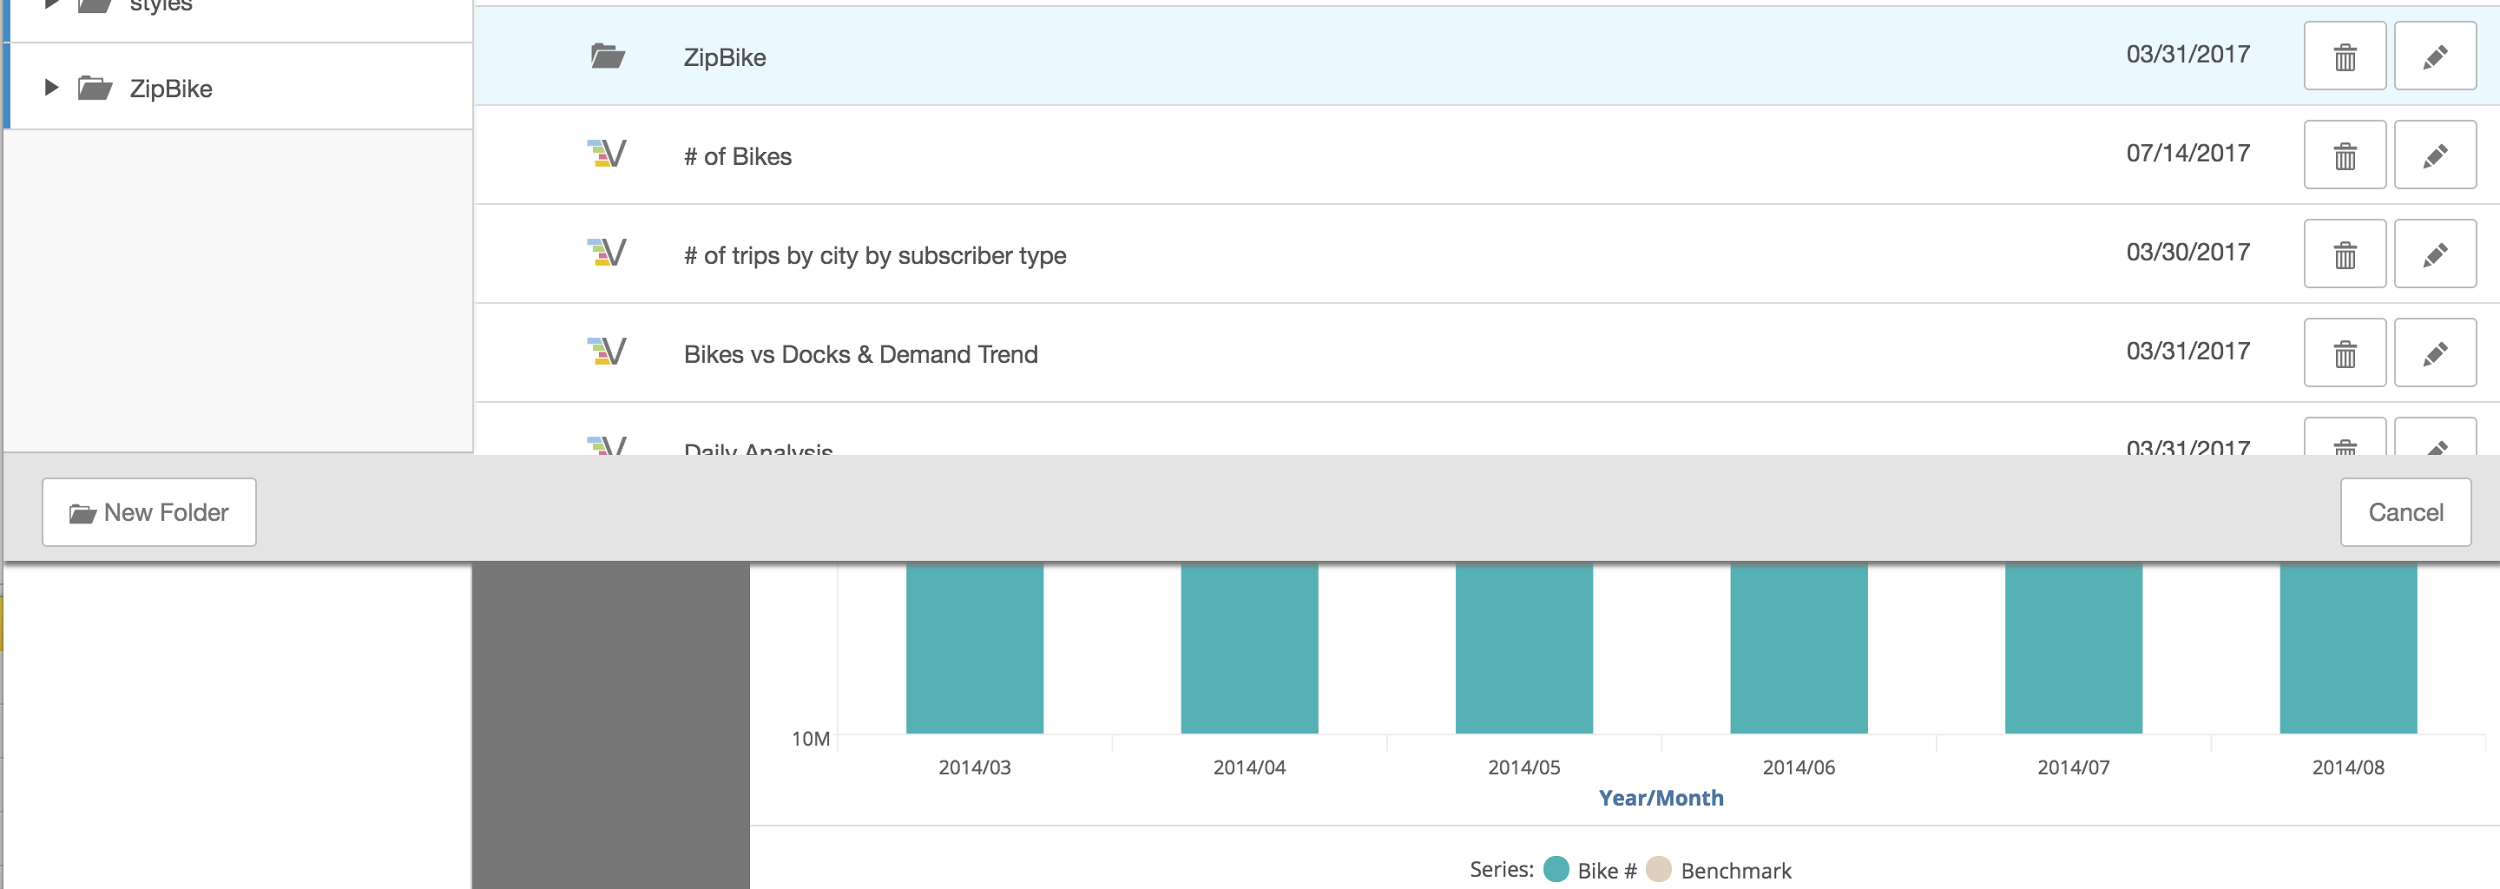
Rename or Delete a Report
- Open the file navigator.
- Navigate to the report you want to rename or delete.
- Scroll to the report listing.
- Click Edit on the report listing.
- Type a new name, then click Save.
- To delete the report, click Trash on its listing. After you confirm the deletion, the report no longer displays.
- Click Done to close the file navigator.
Create, Delete, or Rename a Folder
You can create, delete, or rename folders in Visualizer.
View the Report Query
- In edit mode,
click Query.

The BQL
 Business Query Language query or multiple queries that ran on the server display.
 Tip: You can copy the query. You can also view the logs that record how the queries are sent to the data store.
 - Click Done.